In the winter I really like to wear large pieces of jewerly as they fit better against wool sweaters and so forth. I tend to wear turtlenecks and scarfs as I do tend to freeze a lot.
When I was younger, my mother had a chocker necklace in black. I really liked it, and now I decided to try my hand at making this type of a chocker, with black beads.
Then, for a bit of color, I added a glass pendant with a lot of color against a black backdrop. The beads are braided, but I do not know what the technique is called. It makes for very firm and at the same time elegant knots.
Handmade jewerely and other crafts. I especially love long necklaces and earrings, but also bracelets. Love to hear from you! You can find the products in my Norwegian Facebook page https://www.facebook.com/designbyconstance/?ref=bookmarks
Viser innlegg med etiketten homemade. Vis alle innlegg
fredag 2. januar 2015
Making a bead chocker
Etiketter:
bead,
Beads,
braid,
craft,
flettet smykke,
glass beads,
glass pendant,
halskjeder,
handmade jewellery,
handmade necklace,
hjemmelaget,
homemade
torsdag 1. januar 2015
Leather and metall
I tend to wear glass bead necklaces and also beaded bracelets. However, I was inspired by a couple of pin interests to see what the combination of leather and metall could do. So I made two bracelet that both focus on combining these two materials, but in slightly different ways.
The first one just has several bronze coloured rings as decoration. I have threaded the leather cord in these rings.
The second has silver spiders as decoration, however, I tend tried to keep the rest of the bracelet very plain. I liked the look of the metall agains the leather.
The first one just has several bronze coloured rings as decoration. I have threaded the leather cord in these rings.
The second has silver spiders as decoration, however, I tend tried to keep the rest of the bracelet very plain. I liked the look of the metall agains the leather.
You can see this and other pieces I have made in my online store/blogg http://www.designbyconstance.no (in Norwegian)
Etiketter:
armbånd,
craft,
hjemmelaget,
homemade
lørdag 10. mai 2014
A beautiful blue flower pendant set in a necklace!
I am not certain with this necklace, if I love it or not. I had to use bit of glue on the thread and I am not sure if I like the result. However, here it is:
Etiketter:
Beads,
glass pendant,
handmade jewellery,
handmade necklace,
hjemmelaget,
homemade,
necklace,
necklaces,
smykker,
square beads
mandag 17. mars 2014
Trying to make plastic moulds
I have 4 children. The boys, 8 - 10 - 12, are getting a bit too old to enjoy being creative with their mother. They are more concerned with games and playing legos and stuff like that. However, they do love to paint and also to be allowed to run amok in all my crafts thing.
Now the boys wanted to make masks, and of course my little girl, 3 years old, wanted to do the same. And if I have to keep buying masks for them to paint, then I would be broke before the end of the week. They are surprisingly expensive. So I bought two masks and then I use a liquid plastic stuff to try and make a mould. I don't really know if it worked yet as I have to add a lot of layers.
I am a bit pessimistic at the moment, as I think that the plastic liquid has really stuck to the base. Hopefully it will work, but I will keep adding more layers.
Here is what it looks like today.
Now the boys wanted to make masks, and of course my little girl, 3 years old, wanted to do the same. And if I have to keep buying masks for them to paint, then I would be broke before the end of the week. They are surprisingly expensive. So I bought two masks and then I use a liquid plastic stuff to try and make a mould. I don't really know if it worked yet as I have to add a lot of layers.
I am a bit pessimistic at the moment, as I think that the plastic liquid has really stuck to the base. Hopefully it will work, but I will keep adding more layers.
Here is what it looks like today.
lørdag 8. mars 2014
Necklace in pink
Finished a couple of necklaces. One I had finished before, but I wanted a new picture, and one, the pink, is new.
Etiketter:
handmade necklace,
homemade,
necklace,
necklaces
torsdag 20. februar 2014
A little bird whispered in my ear.....
I had a couple of small metal birds in different shapes. So I thought I would make a couple of earrings with these birds and a couple of blue beads.
This is the result. I thought they were cute. Two different pairs.
søndag 16. februar 2014
From chaotic to order or not….
I am slowly learning to not become too attached to a design as it often ends up differently than what I originally thought. Case in point, the making of this green/grey/reddish necklace.
The basis of the necklace was the square pendant and then I wanted to pick up the green colour and use that in beads that formed part of the necklace. So I got a couple of green square beads with a touch of pink and gold. However, I didn't like the look of those beads with the other beads I have. So I wanted just those two styles, however the hole in the green squares were too narrow. So I could not get the grey thread into it. So I had to think again.
I could not get a grip on the beads with the thin thread. So I decided to add some metallic separators and then hang the square beads from that. I must admit, this was very, very far from what I originally had planned, but I liked it.
Here is the finished necklace:
The basis of the necklace was the square pendant and then I wanted to pick up the green colour and use that in beads that formed part of the necklace. So I got a couple of green square beads with a touch of pink and gold. However, I didn't like the look of those beads with the other beads I have. So I wanted just those two styles, however the hole in the green squares were too narrow. So I could not get the grey thread into it. So I had to think again.
I could not get a grip on the beads with the thin thread. So I decided to add some metallic separators and then hang the square beads from that. I must admit, this was very, very far from what I originally had planned, but I liked it.
Here is the finished necklace:
Etiketter:
Beads,
green,
grey,
handmade jewellery,
handmade necklace,
homemade,
necklace,
square beads
søndag 9. februar 2014
Their hearts are singing...
I know that this is a song, perhaps somebody with a bit more control than me know which one? I believe that it is a country song, but I could be mistaken.
However, I have always liked this phrase and while I can not make a necklace sing, I can make bells chime. At least a little.
So I made this
However, I have always liked this phrase and while I can not make a necklace sing, I can make bells chime. At least a little.
So I made this
I took 4 hearts, one for each child and placed a tiny bell in the middle of each. Then I took a circle with beaten silver, and place a heart glass bead inside it. I added to keys to the end. In my mind, the hearts are the children and they are held together and given stability and support by the heart in the oval, which represents us as parents. Then the keys symbolises that this unit is holding firm, no matter what,
I then added a pale grey thread to i, so it can be worn as a necklace.
søndag 2. februar 2014
Bracelets for boys
I have three boys and one girl. It is always simple to make something for the girl as she sort of loves everything.
The boys are a bit jealous of this, as they also want me to spend time making something for them. Of course they do not know what they want, but something. They are 8, 10 and 12 years old, so it can be a bit of a challenge.
However, now I tried to make some bracelets that were more geared towards boys than girls, however, they can be used by both as I discovered when my girl wanted them also.
The boys haven't worn them yet, but they did approve.
Here I have used a silver, thick thread. It was not very easy to use and I am not that happy with it, but it was ok. The silver figure is a dragon. This was also attached two places so it will not move around.
Here I have used several rings, in bright silver and in bronze. I attached a dragon to one of the rings so it will not swing freely.
On this I used silver ringers and I attached the tiger between two of the rings. The problem is that neither the tiger or the dragon has to attachment points. Thus I had to improvise, it worked after a bit of trial and error.
The boys are a bit jealous of this, as they also want me to spend time making something for them. Of course they do not know what they want, but something. They are 8, 10 and 12 years old, so it can be a bit of a challenge.
However, now I tried to make some bracelets that were more geared towards boys than girls, however, they can be used by both as I discovered when my girl wanted them also.
The boys haven't worn them yet, but they did approve.
It brown leather, macrame and then a silver figure of a tiger is attached. I have attached the figure two places so it will not move.
Here I have used a silver, thick thread. It was not very easy to use and I am not that happy with it, but it was ok. The silver figure is a dragon. This was also attached two places so it will not move around.
torsdag 9. januar 2014
Painting on glass
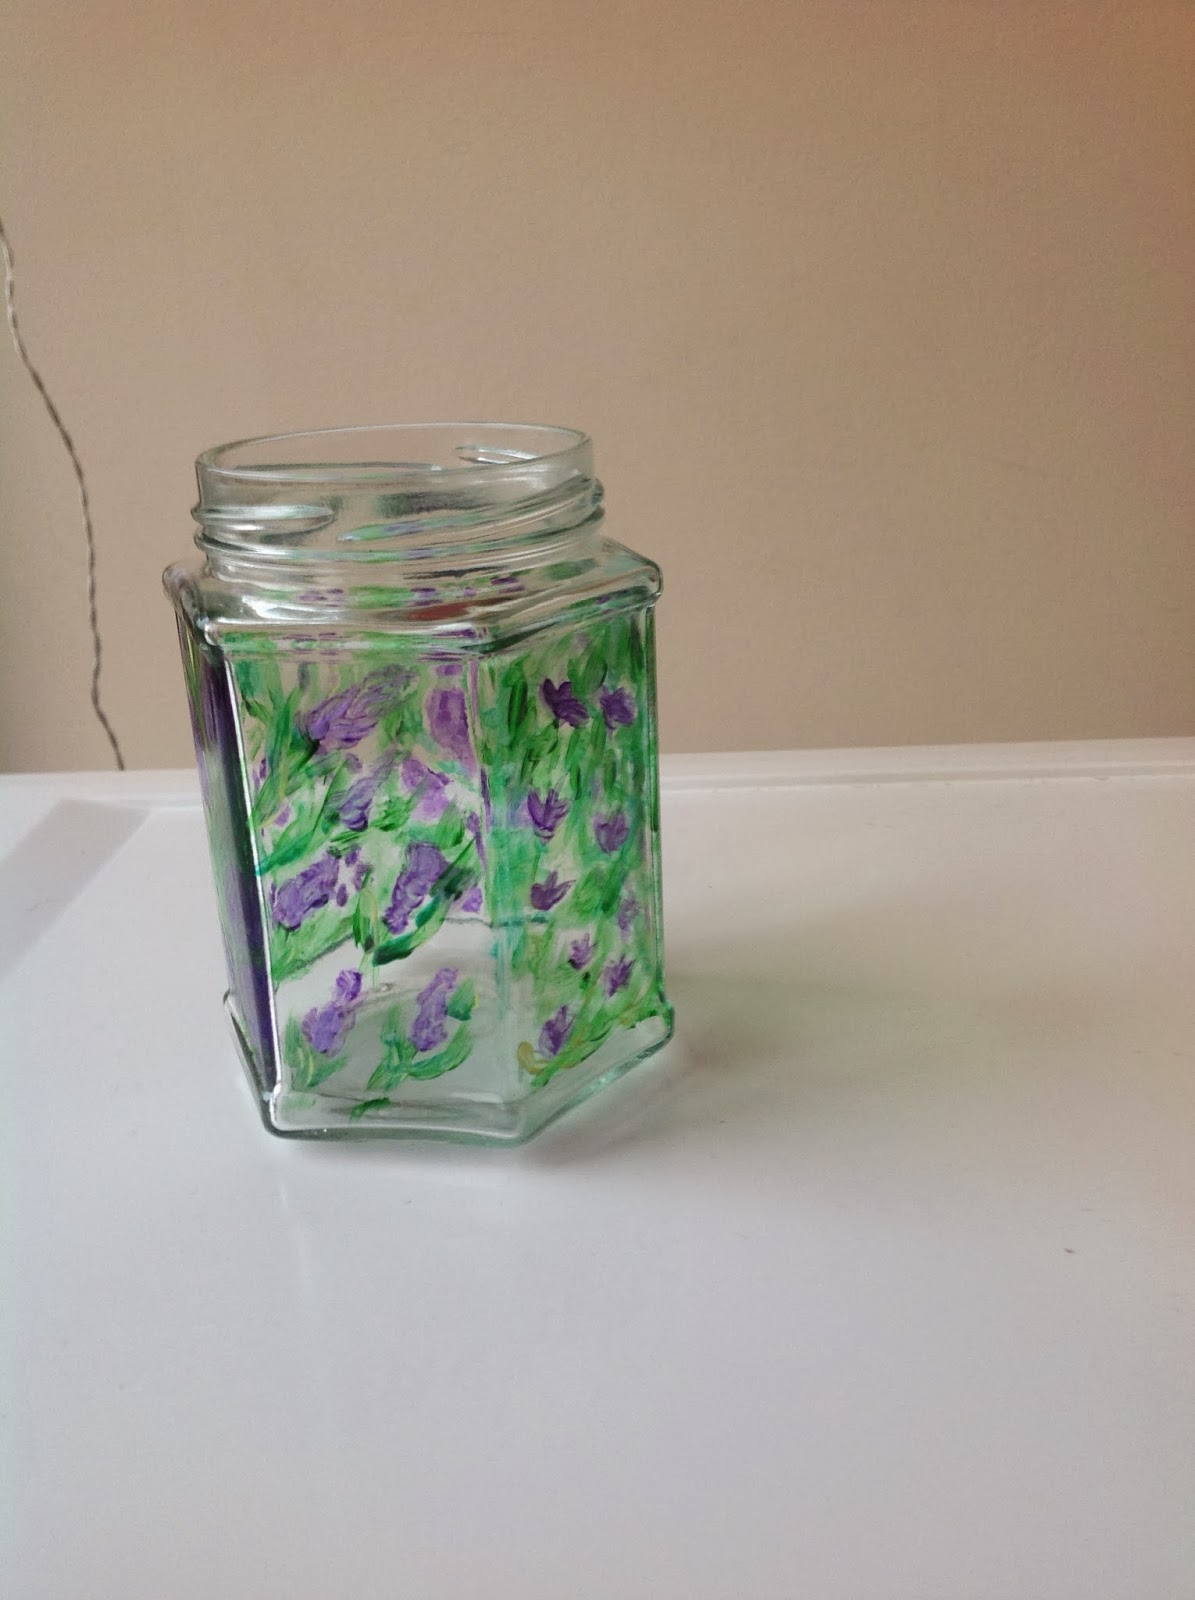
I am experimenting a bit with painting on glass. It is fun as the colours blend differently than if you are doing it on paper. In addition I can use old jam jars and make them attractive again instead of just throwing them away. Here I have tried to keep to the same colour scheme, green with purple (I do love purple) and just changing the shape of the flowers a bit. However, I am not trying for any particular flower, I am just having fun with different shapes.
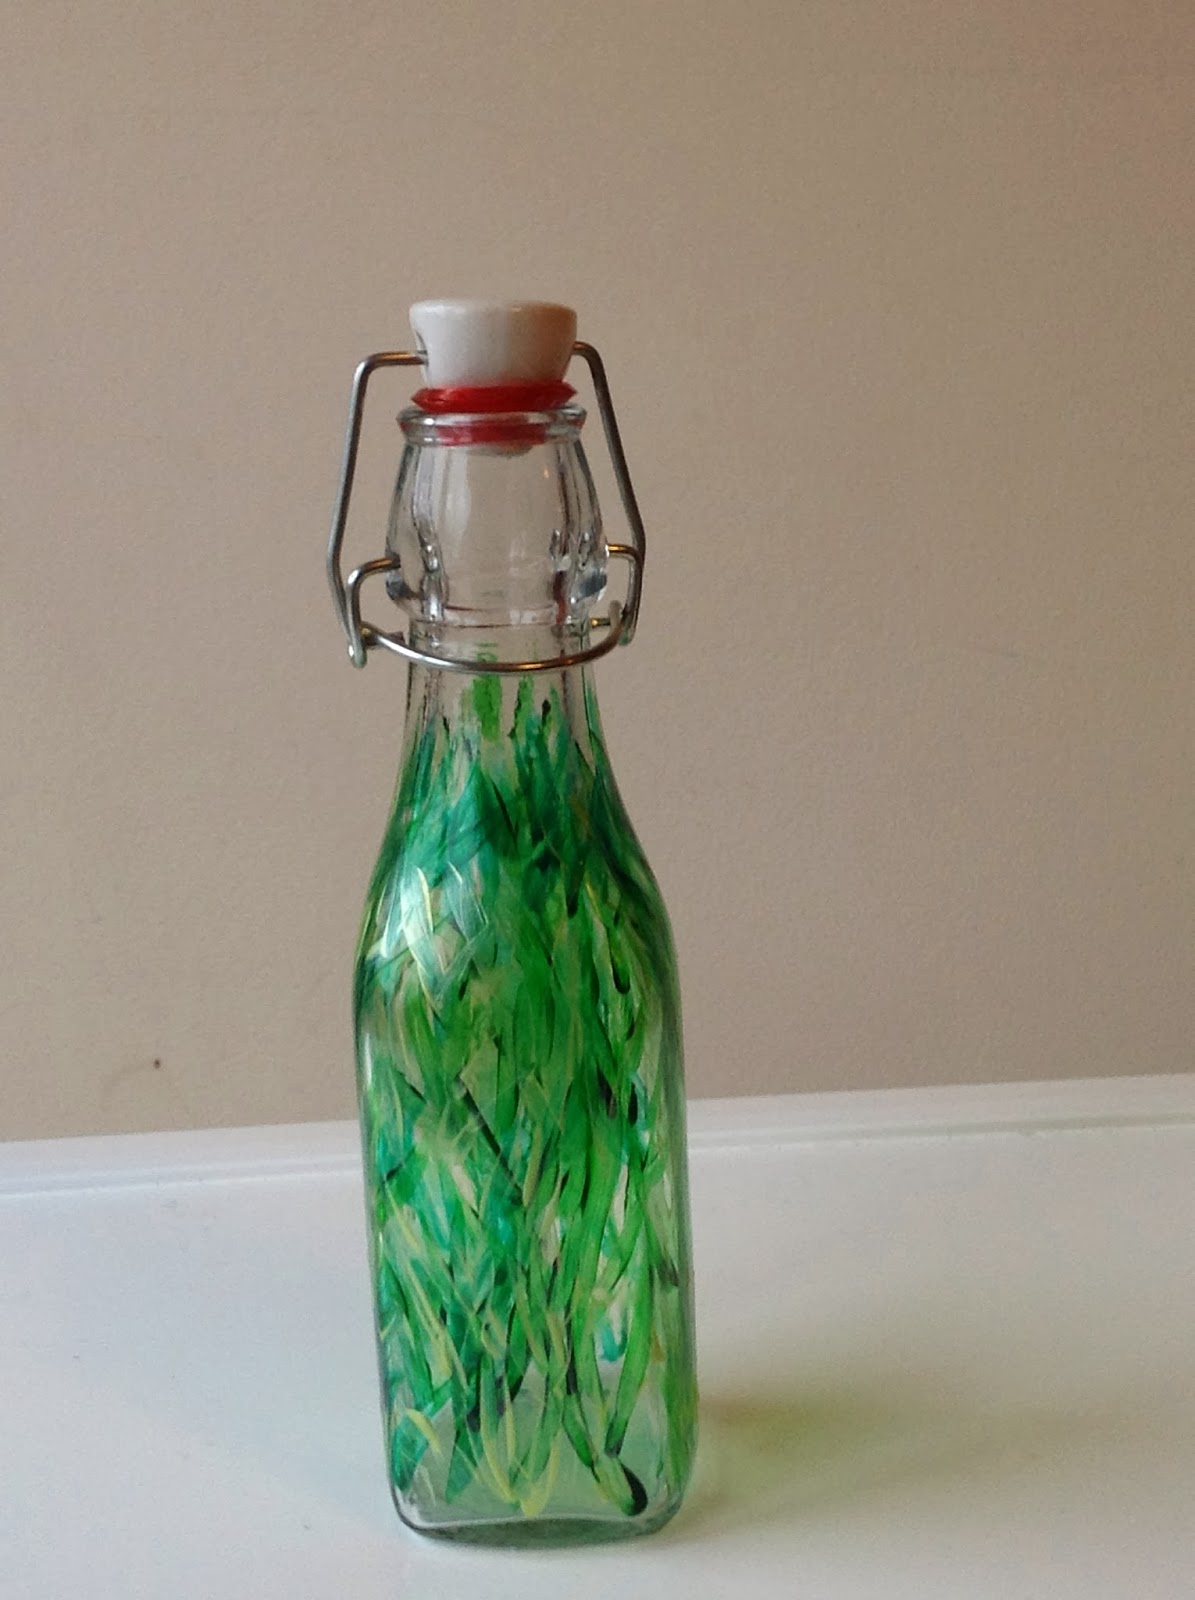
My husband wanted to make apple cider this summer, we have several large apple trees in the garden. So I bought a couple of bottles for this purpose. However, it didn't quite work out as planned, although we did learn a lot. So I have decided to just have a bit of fun with the bottles. Here I have experimented a bit with just shapes. The blue is sort of the ocean or water. I am not terribly happy with it. I do want to do something more with this.
It is perhaps a bit difficult to see in a picture. But I have mixed two different blues. I think I will have to do something more here, perhaps add some other colours? I don't really know.
Here I have tried to give an impression of growing vines. I am going to add a bit more green and perhaps some more details, but overall I am very happy with this result.
My husband wanted to make apple cider this summer, we have several large apple trees in the garden. So I bought a couple of bottles for this purpose. However, it didn't quite work out as planned, although we did learn a lot. So I have decided to just have a bit of fun with the bottles. Here I have experimented a bit with just shapes. The blue is sort of the ocean or water. I am not terribly happy with it. I do want to do something more with this.
It is perhaps a bit difficult to see in a picture. But I have mixed two different blues. I think I will have to do something more here, perhaps add some other colours? I don't really know.
Here I have tried to give an impression of growing vines. I am going to add a bit more green and perhaps some more details, but overall I am very happy with this result.
Etiketter:
craft,
glasspaint,
homemade
søndag 5. januar 2014
Beaded bells, earrings
I have experimented with circular peyote beading. Here are two pictures of my latest effort. I am struggling a bit with getting the beads even and also how to finish it. It is a bit of a trial and error project, however I am rather happy with the end result.
When I had finished the first bell, I felt that something was missing. But I didn't want to add something heavy or large, as I felt that the earrings could not be to heavy.
So I found a small bell and added that to the bell, making it a true bell :-)
I am not the best photographer, but I hope it is possible to see the small bell hanging from the bell shaped earrings. The bell does not make a lot of noise, but I thought that it was a nice touch.
When I had finished the first bell, I felt that something was missing. But I didn't want to add something heavy or large, as I felt that the earrings could not be to heavy.
So I found a small bell and added that to the bell, making it a true bell :-)
I am not the best photographer, but I hope it is possible to see the small bell hanging from the bell shaped earrings. The bell does not make a lot of noise, but I thought that it was a nice touch.
fredag 3. januar 2014
How to do peyote beading, bracelet
This is the first time I am trying to write a "how-to", but I thought I would give it a shot. So here goes nothing.
Peyote beading is fast and simple. The only thing you need to remember is to skip one, use one.
You start with a bead, any size, on a thread. The thread has to be flexible and fairly thin as it has to pass through the beads at least twice. In addition, you need to have enough beads, you are probably going to use more than you think. The number of beads has to be uneven, but you can decide how many.
So, start with a thread and a bead. I have used an elastic thread. I also prefer to have the beads I am going to use in a small bowl next to me. If the beads are very small, I prefer to have them on a bead cloth. But for this beading, the beads are large enough that I prefer to have them in the bowl.
In the next picture, I have added all the beads for the first line. In total 6 beads, two purple, two pink and the last two purple. Notice that the thread is long both also in the end. That is because you will use that thread when you connect the bracelet.
Here I have started on the second line. The thread is passed through the number 5 bead on the first line.
Here I have added another bead to the second line. I hope you can see the rhythm. One bead outside another, the thread through the next bead, and then another bead outside the another. So in this picture you will se the top two beads are tighter, then there is one single, and then there are two together again.
Here I have added the last bead on the line. It looks a bit shaky at the moment, partly due to the fact that I have used an elastic thread and partly because it always looks a bit shaky when you go down. Notice that there are only three beads in this line, so half of the original number.
Here I have started the third line. The bead I have added is going to lay next to the first bead on the first line. The thread then goes through the last bead on the second line.
Now it is starting to come together. When you bead upwards, the beads are falling more into place and you can easily see if you have made any mistakes. So here you see that I have added a pink bead after the purple bead and now they are starting to form a nice line. It is easy to see where the third bead on this line is supposed to be.
Here I have finished the third line. It looks like there is only two lines when you look at it like this, but remember that you have first gone up (the first beads), then down (the second line) and then up again. So there are three lines.
Here is a picture of the line 4, going down. Now you can clearly see where you are supposed to place the beads in the next line. It gets easier once you finish the first lines as it is easier to see the pattern.
Here I have completed the 5th line, going up. Again, the pattern is perfect when going up and you can see what it will look like in the end.
Continue like with the same pattern, bead one, jump one, bead one. You decide how long the bracelet is going to be. When you reach the desired length, you need to end on top. Then you place the two edges together and you bead in the same pattern, pulling beads from both sides, until you reach the middle. Then you take the thread that is hanging loose from the first bead in bracelet, and use that to connect the beads from the bottom up to the middle. Then you tie the two threads together in the middle, tight with a surgeons knot or what suits you the best. You can add a bit of glue to the threads if you are worried that the knot may slip.
Then you will end up with something like this:
Peyote beading is fast and simple. The only thing you need to remember is to skip one, use one.
You start with a bead, any size, on a thread. The thread has to be flexible and fairly thin as it has to pass through the beads at least twice. In addition, you need to have enough beads, you are probably going to use more than you think. The number of beads has to be uneven, but you can decide how many.
So, start with a thread and a bead. I have used an elastic thread. I also prefer to have the beads I am going to use in a small bowl next to me. If the beads are very small, I prefer to have them on a bead cloth. But for this beading, the beads are large enough that I prefer to have them in the bowl.
Here I have added the last bead on the line. It looks a bit shaky at the moment, partly due to the fact that I have used an elastic thread and partly because it always looks a bit shaky when you go down. Notice that there are only three beads in this line, so half of the original number.
Here I have started the third line. The bead I have added is going to lay next to the first bead on the first line. The thread then goes through the last bead on the second line.
Now it is starting to come together. When you bead upwards, the beads are falling more into place and you can easily see if you have made any mistakes. So here you see that I have added a pink bead after the purple bead and now they are starting to form a nice line. It is easy to see where the third bead on this line is supposed to be.
Here I have finished the third line. It looks like there is only two lines when you look at it like this, but remember that you have first gone up (the first beads), then down (the second line) and then up again. So there are three lines.
Here is a picture of the line 4, going down. Now you can clearly see where you are supposed to place the beads in the next line. It gets easier once you finish the first lines as it is easier to see the pattern.
Continue like with the same pattern, bead one, jump one, bead one. You decide how long the bracelet is going to be. When you reach the desired length, you need to end on top. Then you place the two edges together and you bead in the same pattern, pulling beads from both sides, until you reach the middle. Then you take the thread that is hanging loose from the first bead in bracelet, and use that to connect the beads from the bottom up to the middle. Then you tie the two threads together in the middle, tight with a surgeons knot or what suits you the best. You can add a bit of glue to the threads if you are worried that the knot may slip.
Then you will end up with something like this:
Good luck with your beading! Remember to try out different patterns, different lengths and colours. The good thing is that you can always cut the thread, pick the beads apart and start again if you are not happy with the result.
Etiketter:
bead,
bracelet,
homemade,
how to,
learn peyote bead,
learn to bead,
learn to do peyote beading,
peyote beading
torsdag 2. januar 2014
A bracelet and earrings made with peyote beading
I have experimented with a lot of different b eading techniques. I am trying to figure out what I like and also I want to make a necklace with beads. I think I have figured out how to do that, but then I would need a lot more time to be able to work in peace and quiet. Now that the holidays are finished, the kids are back in school and kindergarden, I will be trying more advanced necklaces designs. But for now, I am just having fun with peyote beading and braiding.
Here are a couple of earrings, made with circular peyote and a bracelet made with straight lines.
tirsdag 31. desember 2013
Dilla på armbånd
Jeg har fått litt dilla på å knyte macrame armbånd. Det er å enkelt å sitte med og bare kose seg mens ungene stresser rundt meg. Det er litt enklere enn å sitte med strikketøy fordi strikketøyet ofte er større og dermed vanskeligere å bare legge fra seg hvis noen trenger hjelp. For ungene mine er definitivt ikke født med et tålmodighetsbein.
Så her er noen eksempler på armbånd jeg har laget i det siste. Og godt nytt år til alle!
Etiketter:
armbånd,
bracelets,
hjemmelaget,
homemade,
operasjon
mandag 30. desember 2013
Maling på glass
Jeg har kjøpt litt forskjellige farger for å male på glass, og nå er det morsomt. Jeg leker meg med farger og mønstre, og jeg har prøvd slike stenciler for å få presise mønstre. Jeg har etterhvert funnet ut at det ikke fungerer for meg for malingen flyter utenfor og det blir et slikt pirkearbeid. Så de stencilene får jeg bruke andre steder.
Her er et glass jeg har malt på, savner sommeren litt……
Etiketter:
glassmaling,
glasspaint,
hjemmelaget,
homemade
Abonner på:
Innlegg (Atom)